Make Your Own Bracelet – A Creative Guide for Beginners

Make Your Own Bracelet – A Creative Guide for Beginners
Making your own bracelet is a fun and creative way to express your personal style. It’s an easy craft that doesn’t require much equipment, and you can start right away—whether you want to make a simple friendship bracelet or a more detailed design with beads and leather cord. Here’s a step-by-step guide to help you create your own unique bracelets.
Choose Your Materials and Style
Before you begin, think about what kind of bracelet you want to make. Do you prefer something colorful and playful, sleek and minimalist, or inspired by nature?
Some of the most common materials include:
- Embroidery floss or cotton cord – perfect for classic friendship bracelets.
- Leather cord – gives a rustic, natural look.
- Waxed cord – holds its shape well and is easy to work with.
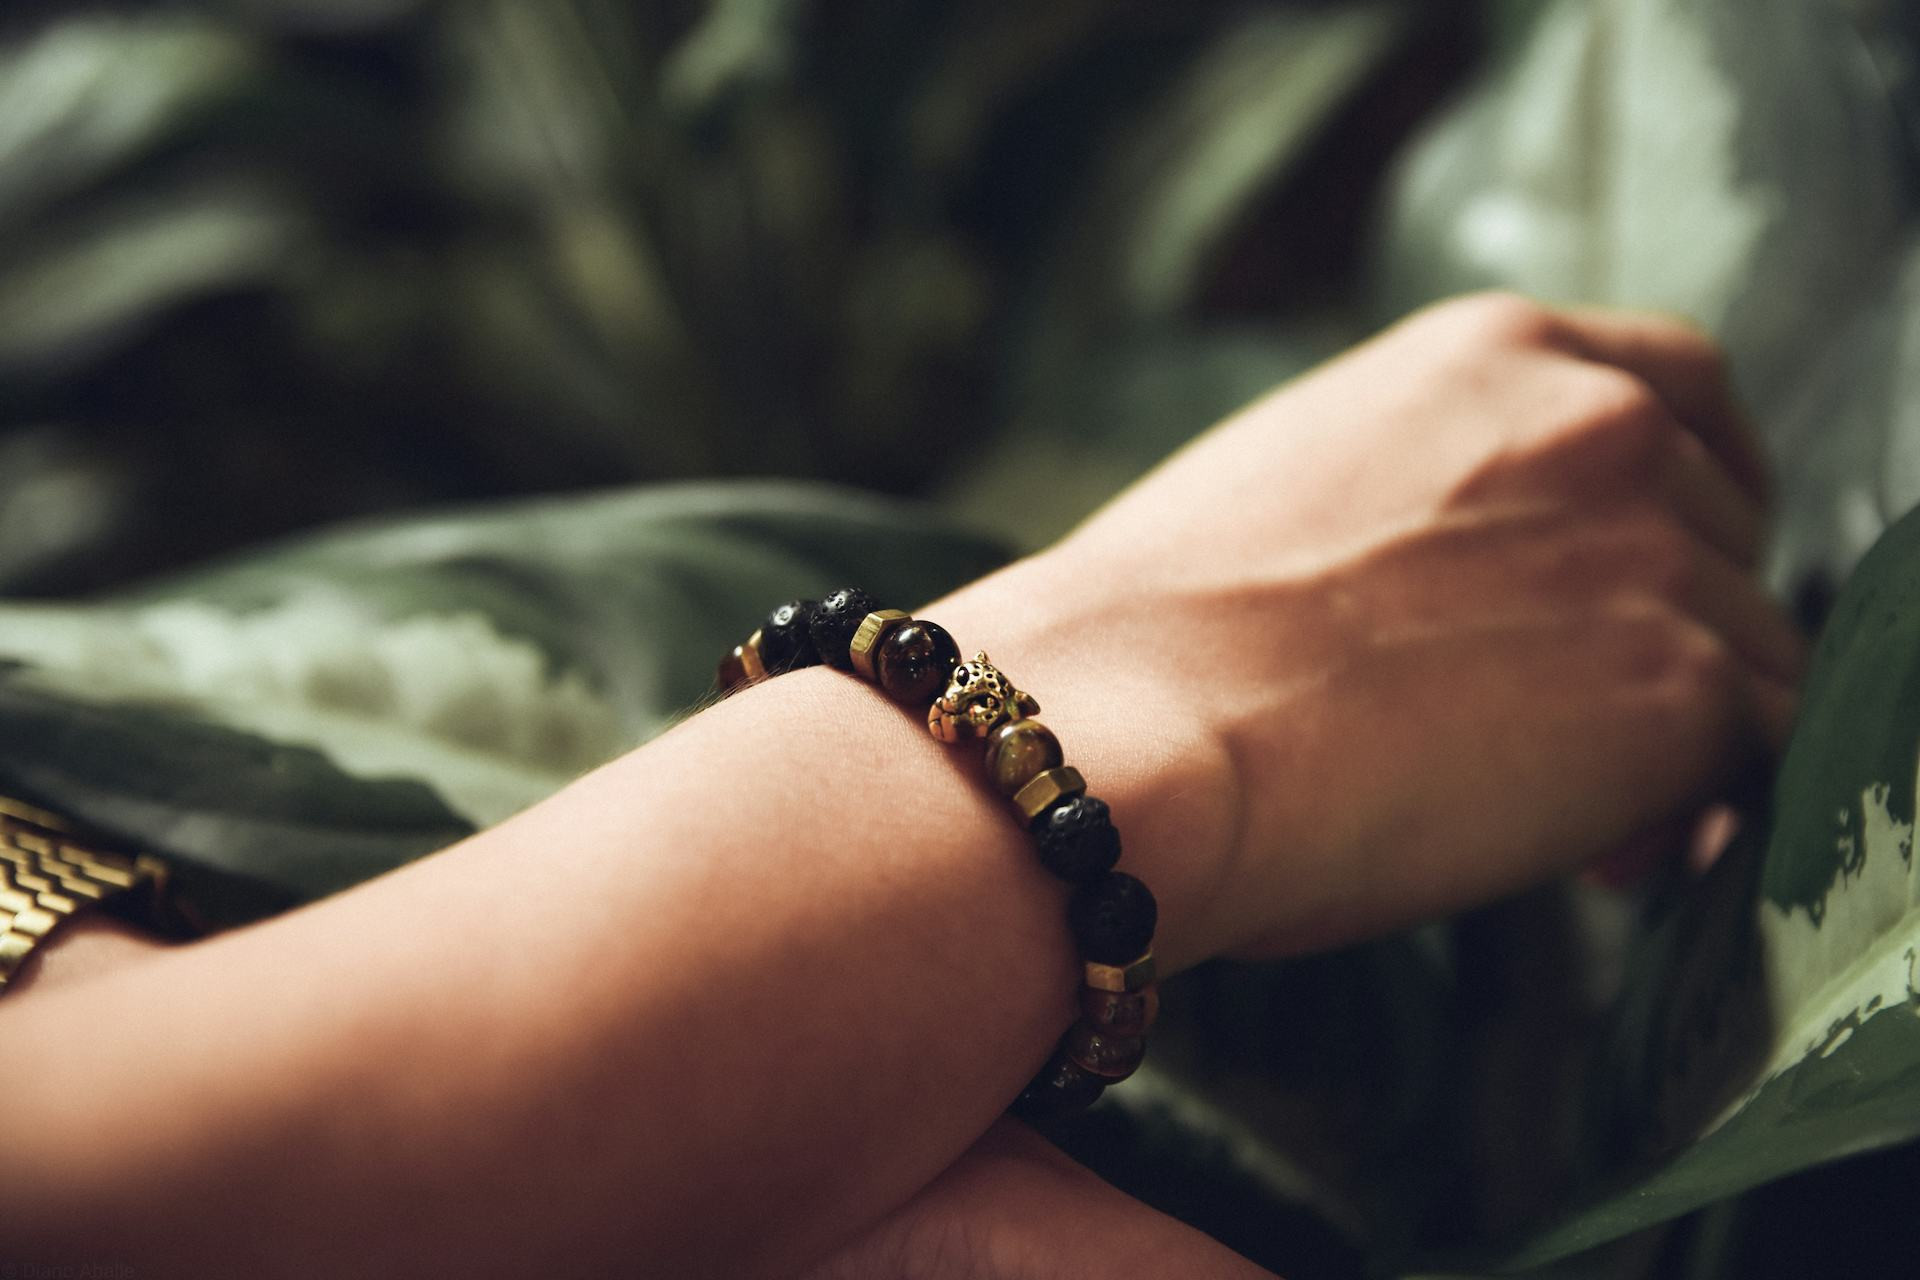
- Beads, charms, and pendants – add personality and variety.
Pick colors that match your style or the person you’re making the bracelet for. The color combination can completely change the look—from calm and subtle to bright and energetic.
Læs også:


Basic Knotting Techniques
There are many ways to make bracelets, but as a beginner, it’s best to start with simple techniques.
- Square knot (macramé knot): A classic technique where you alternate cords over and under each other to create a flat, even pattern.
- Spiral knot: Repeat the same motion on one side to create a twisted, spiral effect.
- Braiding: The easiest method—simply braid three or more strands together like a regular hair braid.
Once you’ve mastered the basics, you can experiment with patterns, color changes, and small decorative details.
Step-by-Step: How to Get Started
-
Measure and cut your cords Measure your wrist and add about 8–12 inches (20–30 cm) for knots and adjustments. Cut 3–6 cords depending on your chosen pattern.
-
Secure the cords Tie the cords together at one end and tape them to a table or clip them to a clipboard. This keeps them steady while you work.
-
Start knotting Follow your chosen technique. Keep the cords tight but not too tight—this helps your bracelet look even and neat.
-
Finish the bracelet When you reach the desired length, tie a firm knot at the end. You can add a bead as a clasp or make an adjustable sliding knot so the bracelet can be taken on and off easily.
-
Trim and seal the ends (optional) If you’re using synthetic cord, carefully melt the ends with a lighter to prevent fraying.
Add a Personal Touch
A handmade bracelet becomes extra special when you add personal details. You can:
- Weave in letter beads with initials.
- Use stones or crystals with symbolic meanings.
- Add charms that represent something meaningful to you.
- Play with color symbolism—for example, blue for calm, green for balance, or red for energy.
This way, your bracelet isn’t just an accessory—it tells a story about you or the person you’re gifting it to.
Ideas for Variations
Once you’re comfortable with the basics, try new combinations:
- Double bracelet with two rows of knots.
- Beaded bracelet with beads woven between knots.
- Leather bracelet with a metal clasp for a bold, modern look.
- Summer bracelet in bright colors and natural materials.
The possibilities are endless—and the best part is that every bracelet you make will be one of a kind.
A Creative Break in Your Day
Making bracelets isn’t just about the finished piece—it’s also about the process. It’s a relaxing, hands-on activity that lets you take a break from screens and focus on something creative. Many people find it calming and satisfying to make something with their own hands.
So gather your cords, put on some music, and let your creativity flow. You’ll soon discover that it’s both relaxing and rewarding—and you’ll end up with a beautiful bracelet you can wear with pride.
Læs også: